Q1 : How to import my Travel Logger data into @trip PC?
A. from i-gotU Travel Logger
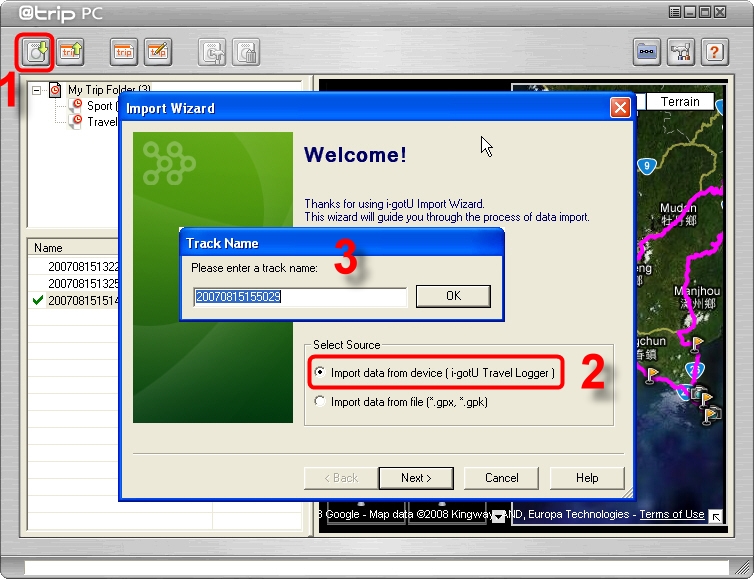
1. Please follow the 4 steps in the picture below to import data from device (i-gotU Travel Logger).
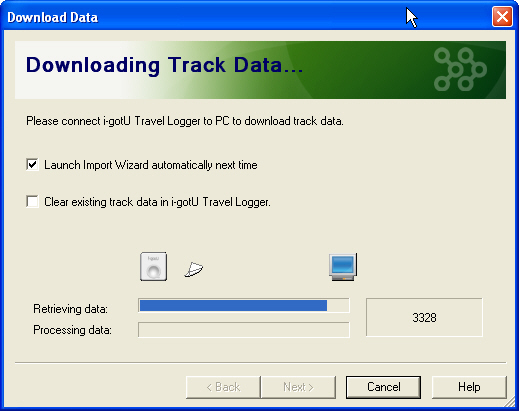
2. After you entered a track name for save, it will continue downloading the track data automatically.
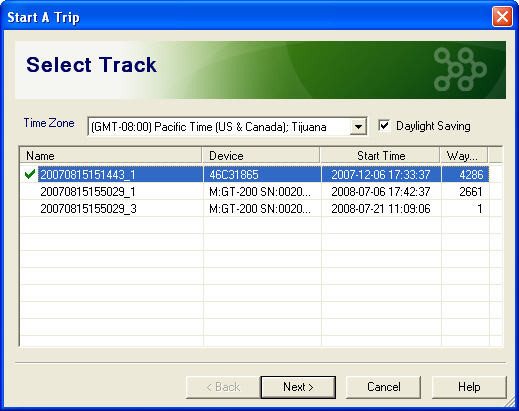
3. Then, please select the Track(s) which you wan to download and click “Next”.

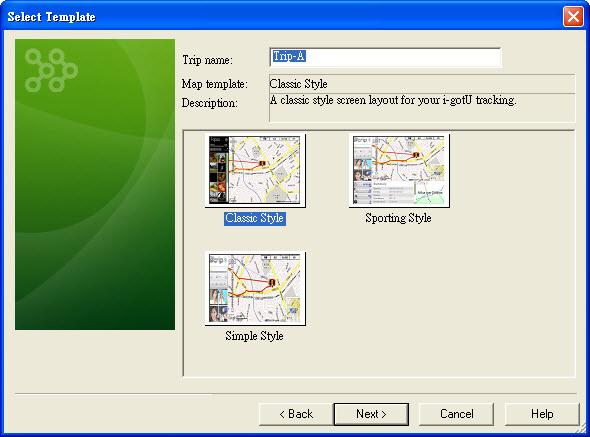
4. Please select your favorite Template.

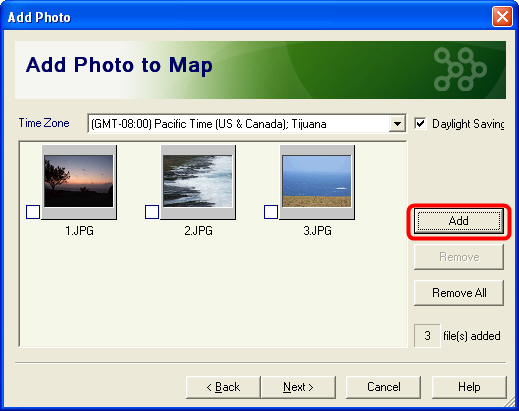
5. Please click “Add” to add your photo(s) to map with the Track. You can select the photo(s) which you want to use.

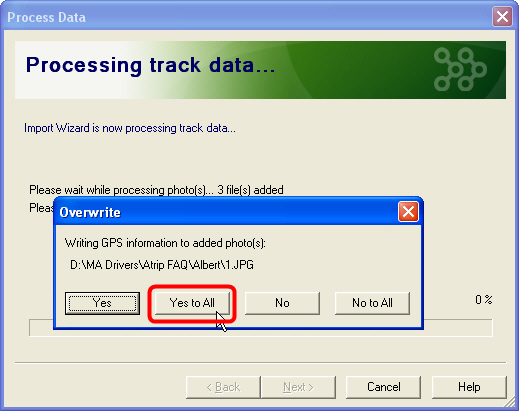
6. Before the mapping, the program will ask you if you want to write GPS information (Geotagging) to the pictures.
Please just press “Yes to All”.
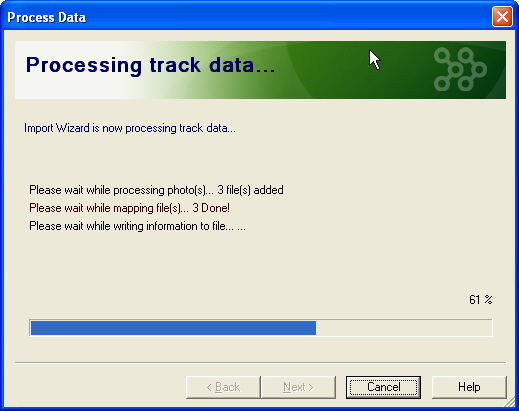
7. The photo(s) and the track are mapping now.
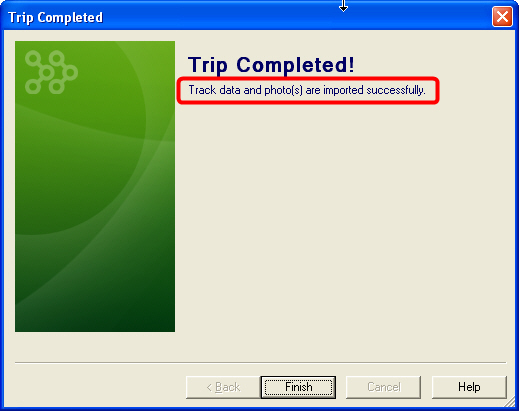
8. Track data and photo(s) are imported successfully.
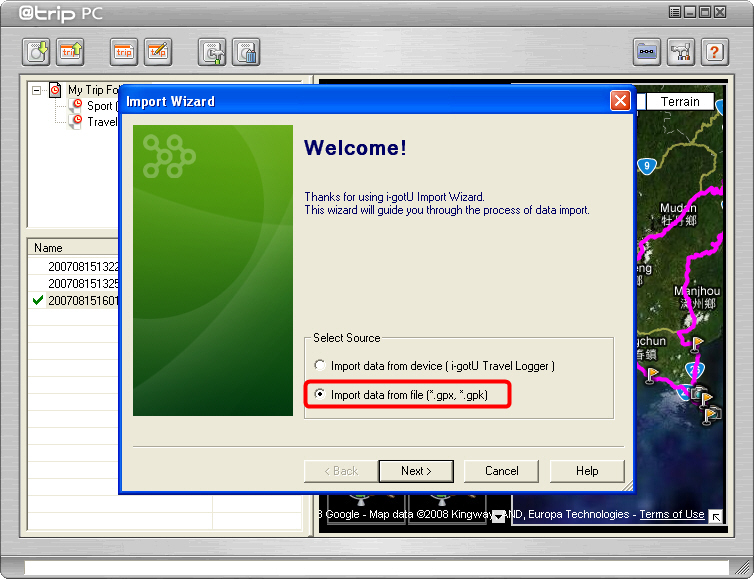
B. from file (*.gpx, *.gpk)
1. Please follow the picture below to import data from file (*.gpx. *.gpk).
Terminology Explanation:
GPX file (the GPS Exchange Format): GPX, or GPS eXchange Format is an XML schema designed for describing GPS data between software applications.
It can be used to describe waypoints, tracks, and routes. The format is open and can be used without the need to pay license fees. Its tags store location, elevation, and time and can in this way be used to interchange data between GPS devices and software packages. Such computer programs allow you for example to view your track, project your track on satellite images (in Google Earth), annotate maps, and tag photographs with the geolocation in the EXIF metadata. More detail information: http://en.wikipedia.org/wiki/GPX_%28data_transfer%29
GPK file: This is our own @trip mobile format. User can save the track data as this file format on their cellphone via our @trip mobile software. Please refer to the @trip mobile FAQ for more detail information.
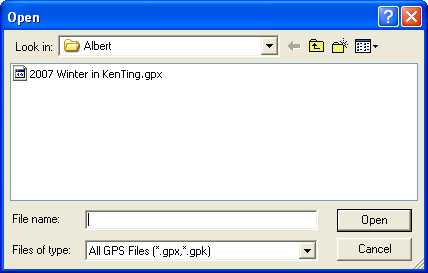
2. Please choose a gpx or gpk file to open.
3. And you have to enter a track name.

4. After you entered a track name for save, it will continue downloading the track data automatically.

5. Then, please select the Track(s) which you wan to download and click “Next”.
6. Please select your favorite template.
7. Please click “Add” to add your photo(s) to map with the Track. You can select the photo(s) which you want to use.
8. Before the mapping, the program will ask you if you want to write GPS information (Geotagging) to the pictures.
Please just press “Yes to All”.

9. The photo(s) and the track are mapping now.

10. Track data and photo(s) are imported successfully.
